
Standing in the middle of a messy house with a bucket in hand and no idea where to start is a common way for a deep clean to fall apart. You scrub one sink, get distracted by a dusty shelf, and end the day with three half-finished rooms. A deep cleaning checklist solves this by giving the whole project a clear order, so nothing gets skipped and nothing gets done twice.
A good checklist also makes a large job feel smaller. Instead of “clean the house,” you have a list of specific tasks you can finish and cross off, one room at a time. That sense of progress keeps you going when the work gets tedious.
This guide uses a room-by-room approach. It covers preparation, cleaning order, the kitchen, bathrooms, bedrooms, living rooms, overlooked areas, sanitizing, scheduling, and how to organize your checklist so you can reuse it. Let’s begin with what the list should actually include.
What a Deep Cleaning Checklist Should Cover
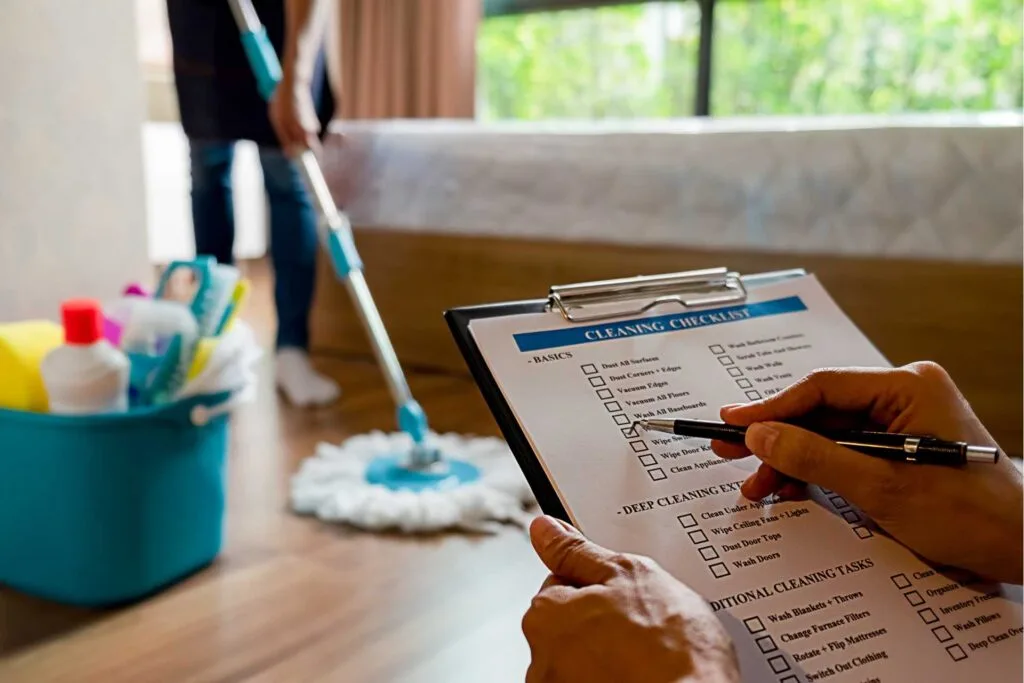
A deep cleaning checklist is more than a list of quick chores. An ordinary cleaning list says “wipe counters” and “vacuum floors.” A deep-cleaning checklist goes further and names the tasks that routine house cleaning usually skips, like degreasing the range hood, scrubbing grout, wiping door frames, and cleaning behind furniture. Its purpose is to make sure the whole home gets a full reset, not just the parts you see every day.
To do that, the checklist needs to account for several categories. Surfaces include shelves, tables, counters, and windowsills. Floors cover vacuuming, sweeping, mopping, and the edges and corners that get missed. Fixtures include faucets, light fixtures, cabinet handles, and showerheads. Hidden areas cover the spaces under and behind furniture and appliances, and the tops of cabinets. Sanitizing covers the high-touch spots that benefit from disinfecting after they have been cleaned.
For example, “clean the kitchen” is too vague to be useful. “Wipe cabinet fronts, degrease the hood filter, scrub the sink drain, and clean beneath the refrigerator” gives you something you can finish and check off.
Build a Deep Cleaning Checklist Before You Start
Writing the list first saves hours once the cleaning begins. A complete house cleaning checklist is built from the rooms you have, the tasks each one needs, and the time you can spare. Set aside about twenty minutes to walk through your home and draft it before you pick up a single cloth.
List Every Room and Area That Needs Attention
Walk through the home and write down every space, including the ones that are easy to forget. Bedrooms, bathrooms, the kitchen, and living areas come first, but add entryways, hallways, closets, pantries, laundry areas, and storage spaces too. Listing everything up front gives you a complete deep cleaning list to work from and prevents the “I forgot the hall closet” moment at the end.
Separate Essential Tasks From Optional Cleaning Jobs
Not every task carries the same weight. Mark the essentials first: scrubbing bathrooms, degreasing the kitchen, cleaning floors, and sanitizing high-touch surfaces. Then mark the optional jobs, such as cleaning inside light fixtures or washing decorative items, as extras for when time allows. This way, if the day runs short, the important work is already finished.
Organize Tasks From High Surfaces Downward
Arrange the tasks in each room from top to bottom. Start with ceiling corners, fans, and light fixtures, then move to shelves, window frames, and furniture, and finish with baseboards and floors. Dust and debris fall as you work, so this order keeps you from cleaning a surface that gets dirty again a few minutes later.
Turn Your List Into a Reusable Cleaning Checklist
Once the list is drafted, store it in a form you can use again. You can print it, keep it in a notes app, or use a spreadsheet, as long as you can mark items complete and edit them later. A ready-made home reset checklist can serve as a starting template that you adjust to your own rooms. After each big cleaning session, update the list with anything you missed so the next round goes faster.
Choose the Right Order for Deep Cleaning Tasks
The order you clean in affects how much work you end up doing. If you mop the floors first and dust afterward, the floors get dirty again. If you clean the bathroom before the bedrooms, you may carry damp residue through the house. A sensible sequence prevents repeated work and helps the day move at a steady pace.
There is no single order that fits every home, but a few principles hold in most situations. Begin with clutter, because it blocks access to surfaces and makes everything slower. Sorting items and decluttering your home one room at a time gives you clear surfaces to work on. After clutter, move to dusting from high spots to low ones, then to surface cleaning such as wiping shelves, counters, and furniture. Save the floors for the end of each room, and do the final sanitizing of high-touch areas last so nothing you just disinfected gets touched by dusty hands or dropped debris.
On the question of what to clean first, many people start with bedrooms and living areas and finish with the kitchen and bathrooms, since those are the messiest and take the longest. Others prefer to tackle the hardest room while their energy is high. If your home has multiple floors, work from the top floor down. Either approach works as long as you finish each room fully before moving to the next.
Deep Clean the Kitchen From Cabinets to Floors
Clear and Clean Cabinets, Drawers, and Shelves
Take everything out of one section at a time so you can wipe the interior properly. Check for expired food and unused items as you go, and discard what you will not use. Wipe the inside of cabinets and drawers, then the outside, paying attention to handles, edges, and corners where sticky residue builds up. Clean the tops of cabinets too, since grease and dust settle there unnoticed.
Remove Grease From Appliances and Cooking Surfaces
Grease is the main challenge in a kitchen deep clean. Soak or wash the range hood filter, degrease the stovetop including burner areas and knobs, and clean the oven surfaces according to the manufacturer’s guidance. Wipe the inside and outside of the microwave, and clean the front and handles of the refrigerator and dishwasher. Let the degreaser sit for a few minutes before wiping so it does most of the work for you.
Refresh Counters, Sinks, Fixtures, and Backsplashes
Counters and sinks touch food directly, so they deserve careful attention. Clear the counters and keep only what you use daily, since clear kitchen counters are much faster to wipe and easier to keep clean. Scrub the sink and drain area, polish the faucet and its base, and wipe the backsplash where splatters collect behind the stove. Finish by cleaning small appliances and the spaces between them and the counter.
Finish With Kitchen Floors and Hidden Edges
Floors come last in the kitchen. Sweep or vacuum first, then use a brush or vacuum attachment along the edges and corners where crumbs collect. If appliances can be moved safely, clean beneath and behind them. Mop with a cleaner suited to your flooring, and work from the far corner toward the exit so you do not walk over the clean area.
Deep Clean Bathrooms for a Fresher, Safer Space
Scrub Showers, Tubs, Tiles, and Grout Thoroughly
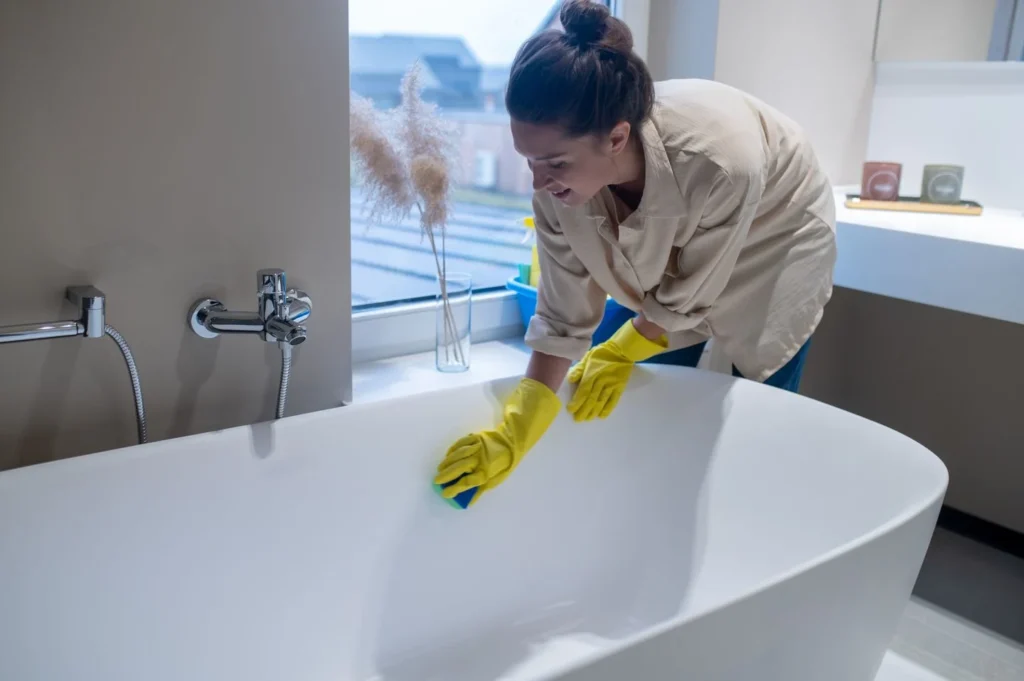
Apply a bathroom cleaner to the walls, tub, and tile and let it sit so it can loosen soap residue and mineral deposits. Use a brush on grout lines and corners where mildew begins, and descale the showerhead if you see chalky buildup. Rinse well, and wipe glass doors last to avoid streaks. Ventilate the room while you work.
Clean Toilets, Sinks, Faucets, and Bathroom Fixtures
Clean the toilet inside and out, including the base, the hinges, and the area behind it. Scrub the sink and faucet, then wipe handles and knobs. These are among the most frequently touched surfaces in the home, so once they are clean, sanitizing them adds real value. Never mix bleach with ammonia or acidic cleaners, and use one product at a time.
Refresh Mirrors, Cabinets, Shelves, and Storage Areas
Empty the vanity and shelves so you can wipe them fully. Toss expired medications and cosmetics, and remove anything you no longer use. Clean the mirror with a glass cleaner, wipe the cabinet fronts and handles, and put back only what belongs there. A tidy bathroom is much easier to clean the next time.
Finish Bathroom Floors and Moisture-Prone Corners
Sweep or vacuum first, then mop, and pay attention to corners, the base of the toilet, and the area behind fixtures where moisture and residue collect. Wash or replace bath mats and the shower curtain, and clean the exhaust fan cover. Leave the door or a window open afterward so the room can dry fully.
Refresh Bedrooms With Detailed Room Cleaning
Bedrooms are usually cleaned lightly, so dust and fabric fibers build up in places that routine cleaning skips. A deep clean here means working systematically: strip and wash the bedding, vacuum the mattress, and wash pillows and duvets according to their care labels. Dust from high to low, starting with ceiling corners and fans, then shelves, frames, nightstands, and dressers, and finish with baseboards and floors.
Closets deserve attention as well. Take items out, wipe the shelves and floor, and donate clothes you no longer wear. If you store things under the bed, pull them out, clean the space, and wipe the containers before putting them back. You can work through the room in one pass without disrupting the rest of the house by keeping laundry and donation bags at the door.
Bedroom areas that are commonly missed include:
- The tops of wardrobes and tall dressers
- Headboards and bed frames
- Window blinds and curtain rods
- Lampshades and light switches
- Vent covers and ceiling fan blades
- The space beneath and behind the bed
Clean Living Rooms Beyond the Visible Surfaces
Living rooms collect dust, crumbs, fingerprints, and pet hair, much of it in places you do not see. Begin by clearing surfaces, then dust shelves, frames, electronics, and decor. Use a dry or barely damp microfiber cloth on screens and electronics, and check manufacturer guidance before using any cleaner on them. Vacuum upholstered furniture, including the seams and the spaces under the cushions where crumbs collect.
Windows, doors, and baseboards come next. Wipe the window frames and sills, clean the glass, and wipe door surfaces and handles. Then move furniture where possible so you can vacuum behind and beneath it, especially under sofas and along walls where dust gathers.
Overlooked living room areas include:
- Under and between sofa cushions
- The backs of TVs and media consoles
- Curtain rods and the tops of curtains
- Door frames and light switches
- Baseboards and corners behind furniture
- Air vents and ceiling fans
Handle Dusting and Hidden Areas Most People Miss
What makes a deep clean different from ordinary house cleaning is the attention it gives to hidden and hard-to-reach places. Dust accumulates in these spots for months, and every time air moves through the home, some of it returns to surfaces you have already cleaned. That is why working from high surfaces to low ones makes such a difference. Anything you knock loose falls onto areas you have not cleaned yet, not the ones you finished.
Use an extendable duster or a vacuum brush attachment for high areas, and a damp microfiber cloth for blinds and fan blades so dust is captured instead of scattered. Work through this overlooked-area checklist in each room:
- Ceiling corners and cobweb spots
- Ceiling fan blades and light fixtures
- Air vents and return grilles
- Tops of cabinets, bookshelves, and wardrobes
- Window blinds, sills, and frames
- Baseboards and molding
- Corners, behind furniture, and along walls
Complete Floors After Dust and Surface Cleaning
Floors should come after overhead dusting and surface cleaning, because everything above will have dropped debris onto them. If you vacuum first and dust afterward, you are simply cleaning the floor twice. Working in this order lets each pass count.
Start by vacuuming or sweeping, including edges, corners, and the areas under and behind furniture that normal cleaning ignores. Then mop hard floors with a product suited to the material. Flooring type matters a great deal. Hardwood and laminate generally need minimal moisture, tile and grout can take more scrubbing, natural stone can be damaged by acidic cleaners, and carpet needs slow, overlapping vacuum passes. Household activity changes the approach too. Homes with pets or children may need extra passes around eating areas and entryways.
Keep these floor-care points in mind:
- Vacuum before you mop so loose dirt is not spread around.
- Use a lightly damp mop on hardwood and laminate.
- Brush grout lines on tile floors.
- Check labels before using any cleaner on stone.
- Work from the far side of the room toward the exit.
Deep Cleaning Checklist for Often Missed Areas
Once each room is done, use this section as a final inspection. These are the details that tend to get skipped even in a careful deep clean, and checking them is what makes a home feel finished.
Check High and Low Surfaces for Hidden Dust
Look up at ceiling corners, fan blades, vents, and light fixtures, then look down at baseboards and the lower edges of doors. These areas sit outside normal eye level, so dust builds up without anyone noticing. A quick pass with a duster or vacuum attachment finishes the job.
Look Behind Furniture and Under Large Appliances
Movable furniture and appliances hide dust, crumbs, and grime that build up over months. Slide out lightweight furniture and vacuum behind and beneath it. If you can safely move the refrigerator or stove, clean the floor and the sides, and use a long-handled brush for spaces you cannot reach.
Inspect Doors, Handles, Switches, and Window Tracks
Door frames, handles, and light switches collect fingerprints and dust, while window tracks fill with grit that is easy to ignore. Wipe the frames and handles, clean switch plates, and use a vacuum crevice tool or an old toothbrush to clear window tracks.
Finish With a Final Room-by-Room Inspection
Take your checklist and walk through each room. Look at each space from the doorway first, then up close, checking for streaks, missed corners, and leftover residue. Mark anything unfinished and fix it while your supplies are still out.
Sanitizing High-Touch Areas During Deep Cleaning
Cleaning removes dirt, and sanitizing reduces germs on surfaces that have already been cleaned. The order matters, since sanitizer works best on a clean surface. You do not need to sanitize every surface in the house, and doing so is unnecessary. Focus on the places that hands touch most often.
Read the product label and follow the instructions for contact time, meaning how long the surface needs to stay wet for the product to work. Use one product at a time and never mix disinfectants. Ventilate the room, and avoid using sanitizers on surfaces the manufacturer says they can damage, such as some natural stone or wood finishes.
Priority touchpoints include:
- Door handles and light switches
- Faucet handles and toilet flush handles
- Refrigerator, oven, and microwave handles
- Remote controls and game controllers
- Cabinet pulls and railings
- Phones and tablets, using products made for electronics
Deep Cleaning Checklist vs Routine Cleaning Tasks
Not every task belongs on a deep-cleaning list. Daily and weekly jobs such as washing dishes, wiping counters, and vacuuming are better handled through a simple daily cleaning routine, while the deep-cleaning checklist is reserved for periodic jobs that go beyond upkeep. Keeping the two lists separate prevents your deep clean from swelling into an impossible project.
| Cleaning Area | Routine Cleaning | Deep Cleaning |
| Dusting | Visible and frequently used surfaces | High, hidden, and neglected surfaces |
| Kitchen | Counters, dishes, basic floor care | Cabinets, appliances, buildup, hidden areas |
| Bathroom | Regular fixture and surface care | Detailed buildup, grout, corners, storage |
| Bedrooms | Bedding, surfaces, and floors | Furniture details, closets, hidden dust |
| Living room | Basic dusting and floor care | Upholstery, behind furniture, fixtures |
| Floors | Routine vacuuming and mopping | Edges, corners, under furniture, detailed care |
How Often Should You Use a Deep Cleaning Checklist
How often you need a deep clean depends on your household. A single person in a small apartment may need one less often than a family with children and pets. Cooking frequency, foot traffic, allergies, and the season all play a part, and so does how quickly visible buildup returns.
Kitchens and bathrooms usually benefit from a thorough clean more often than other rooms, since grease, moisture, and residue accumulate quickly. Bedrooms and living areas often work well with a full deep clean a few times a year. Tasks such as cleaning behind large appliances, washing curtains, or treating carpets may only need attention once or twice a year, or sooner if you notice a problem.
A recurring checklist complements your normal cleaning and does not replace it. Weekly upkeep keeps things manageable, and the checklist covers what upkeep leaves behind. Factors that influence frequency include:
- Household size and how many people use each room
- Pets, shedding, and tracked-in dirt
- How often you cook and how much
- Allergies or sensitivity to dust
- Seasonal changes such as spring and fall resets
- Visible signs like sticky cabinets, cloudy mirrors, or dusty vents
Can You Complete a Deep Clean in One Day
Sometimes, but it depends on your home. A small apartment with a couple of helpers and little clutter may be doable in a day, while a large home can take several days. Clutter, the scope of your list, the number of people helping, and how well you prepared all change the workload. Nobody can promise a universal timeframe, so it is better to plan around your own situation.
When one day is not enough, divide the work. Split the checklist by room or zone and assign each to a different day, doing kitchens and bathrooms first when energy is highest. Gather supplies beforehand, clear clutter before the cleaning day, and set a realistic stopping point for each session. Ask others in the household to take specific rooms so the work moves faster. If the job is too large or time is short, a professional option like a deep reset service can take on the heaviest parts so you are not stretched across several weekends.
Printable Deep Cleaning Checklist Planning Tips
A printable checklist is easy to use because you can carry it from room to room and check items off as you finish. You do not need a downloadable file to make one. A simple document or a page in a notebook works fine. Use these recommendations to design a checklist you will actually follow:
- Organize the list by room so each space has its own section.
- Order tasks in each room from high surfaces down to floors.
- Mark each task as essential or optional so you know what to protect if time runs short.
- Add a checkbox or date column to record when each task was completed.
- Note how often each task should repeat, such as monthly, seasonally, or yearly.
- Leave space for notes on problem areas and products that worked well.
- Keep a clean master copy and print a fresh page for each cleaning session.
Final Thoughts on Building a Complete Cleaning Checklist
A well-organized deep cleaning checklist turns a large, intimidating project into a series of manageable steps. Working room by room, prioritizing the important jobs, and checking overlooked areas at the end helps make sure nothing gets missed. Judy Maids can also provide professional support when certain cleaning tasks require extra time or attention. The list becomes more valuable each time you use it, since every session shows you what to add, move, or drop.
The best checklist is the one built around your own home. Your layout, your household, and your habits all shape what belongs on it, so treat any template as a starting point and adjust it as your needs change. Keep it somewhere you can find it, and update it after each deep clean.
Take a few minutes today to walk through your home and write down the rooms and tasks that need attention. Start with the areas that need the most work, finish them fully, and check them off. Once that first room is done, the rest of the list will feel far more achievable.
Deep Cleaning Checklist FAQs for Every Room
Even with a full checklist in hand, a few practical questions often remain. The answers below cover preparation, timing, missed areas, and how to keep your list useful. They add to the guide above without repeating it.
Include every room and storage space, from ceiling fans and vents down to baseboards and floors. Add kitchen cabinets and appliances, bathroom grout and fixtures, bedroom mattresses and closets, upholstery, windows, doors, switches, and the areas behind and beneath furniture. Finish the list with a sanitizing step for high-touch surfaces.
Ceiling corners, fan blades, vents, tops of cabinets, window tracks, door frames, and light switches are commonly missed. So are spaces under appliances, behind furniture, and inside drawers. These areas sit out of sight or are rarely touched, so dust and grime build up unnoticed.
Give each room its own section and list the tasks in top-to-bottom order, from ceiling to floor. Mark which tasks are essential and which are optional, and add a checkbox for each one. Note any problem spots so you can pay extra attention to them next time.
It depends on the size of your home, the amount of clutter, and how many people are helping. A small apartment may take a day, while a larger home can take several days if you are working alone. Splitting the checklist across multiple days is often more realistic than rushing through everything at once.
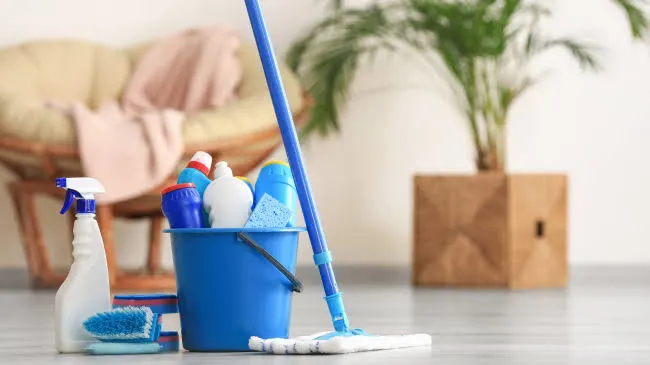
Gather an all-purpose cleaner, glass cleaner, a bathroom cleaner, a degreaser, and a gentle scrub, along with microfiber cloths, brushes, and a toothbrush for tight spots. Add a vacuum with attachments, mop supplies, trash bags, and gloves. Keep everything in a caddy so you can carry it from room to room.